The texture is one of the pivotal elements that can make or break the authenticity of your 3D models. Textures, when done right, can breathe life into your creations. This blog covers everything you need to know about Physically Based Rendering (PBR) Textures - meaning, key components, and how to make PBR textures.
Understanding Physically Based Rendering (PBR) Textures
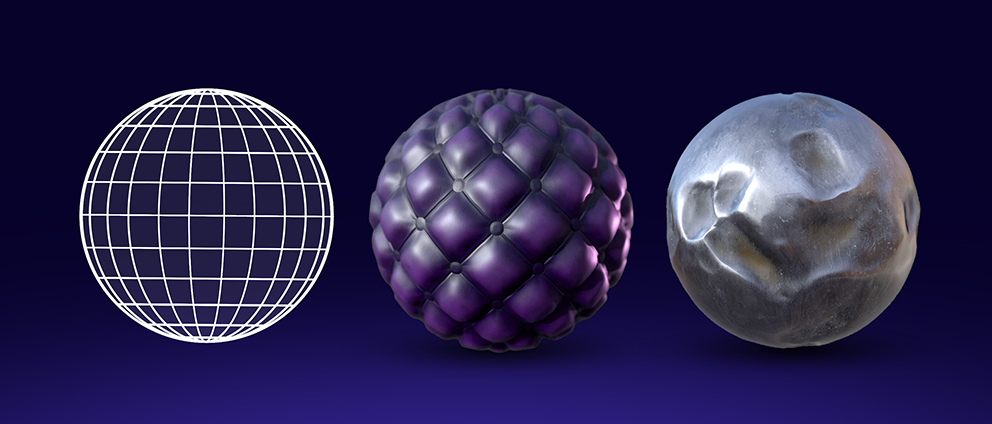
Before we get into the nuances of how to make PBR textures, we can strengthen the basic understanding of this concept. Physically Based Rendering is known as PBR. These are a texture that mimics how light interacts with actual materials in the real world. This means that compared to standard textures, PBR textures can produce renders that are a lot more convincing and realistic. These textures mimic how light reacts to natural materials, including wood, metal, fabric, and stone.
Key Components of PBR Textures
PBR textures combine a set of maps to reach this level of realism. Some of these include:
Albedo (Color) Map: Defines the base color and appearance of the material.
Normal Map: Surface details and imperfections are simulated to add depth to a flat surface.
Roughness Map: Determines the surface's level of roughness or smoothness, affecting how light is scattered.
Metallic Map: The nature of a material, whether metallic or non-metallic is specified, and this influences its reflective properties.
Ambient Occlusion Map: Adds subtle shading to concave areas, enhancing depth perception.
Height Map: Encodes height information for creating 3D surface relief.
In essence, PBR textures are crucial for achieving photorealistic 3D renders, as they allow artists to recreate a wide range of materials, resulting in stunning visual effects in 3D models.
To read about “Why 3D Design is The Future”, click here.
Step-by-Step Process to Craft PBR Textures
1. Gathering References
The first step in this creative process is to gather references. These visual cues will serve as the main guides. Search for high-quality images that represent the material you aim to recreate. The more references you collect, the better equipped you'll be to breathe life into your textures.
2. Creating the Base Color Texture
Now, let's dive into the heart of PBR texture creation - the base color texture. This foundational element sets the stage for your material. You can hand-paint it, source images, or employ procedural textures - the choice is yours, and experimentation is critical.
3. Roughness Map
Next, let's tackle the roughness map. This map dictates how light interacts with your material's surface. Adjusting the roughness can distinguish between a glossy finish and a matte one. In this step, it's all about precision and subtlety.
4. Metallic Map
The creative journey continues with the metallic map. This is where you get to determine the metallicity of the material. Are you dealing with a shiny metal or a dull one? Creating an accurate metallic map is paramount for authenticity.
5. Normal Map
Let's add depth and surface detail to the normal map. This map tricks the eye into perceiving bumps and grooves that aren't really there. It's equivalent to magic for your textures.
6. Ambient Occlusion (AO) Map
Even as PBR texture is coming together, it's missing a crucial element: shading. This is where the AO map comes into play. This map adds depth and realism to the shadows and recesses of your material.
7. Height/Displacement Map (Optional)
For those seeking the utmost realism, the height/displacement map can take your textures to the next level. It adds depth to your textures, allowing light to interact with physical variations.
8. Testing and Iteration
At this stage, don't hesitate to put your PBR textures to the test within your 3D software. Tweak, refine, and iterate until you achieve the desired look. Remember, the key is in the details.
9. Exporting and Using PBR Textures
With your textures refined, it's time to export them. Understand the various formats and settings that your software supports. Once exported, seamlessly apply your PBR textures to your 3D models for that breathtaking, photorealistic finish.
Why Use PBR Textures for 3D Renders?
For 3D renders, PBR textures are recommended for a few reasons. These include:
-
Renderings using PBR textures are far more convincing and realistic.
-
PBR textures can significantly speed up and simplify your production.
-
They are known to boost engagement and drive conversion to a large extent.
-
Nowadays, there are many excellent resources and tools accessible for integrating PBR textures as they are becoming more pivotal across industries.
Learning the nuances, to create PBR materials is a journey worth being a part of. With dedication and practice, you can master the techniques required to bring your 3D renders to life. The realistic textures you create will elevate your projects to new heights of visual splendor. Learn how to make PBR textures and unlock a world of possibilities in 3D product rendering.
To read about “How to Create 3D Product Images for Amazon Listings”, click here.
About Toggle3D
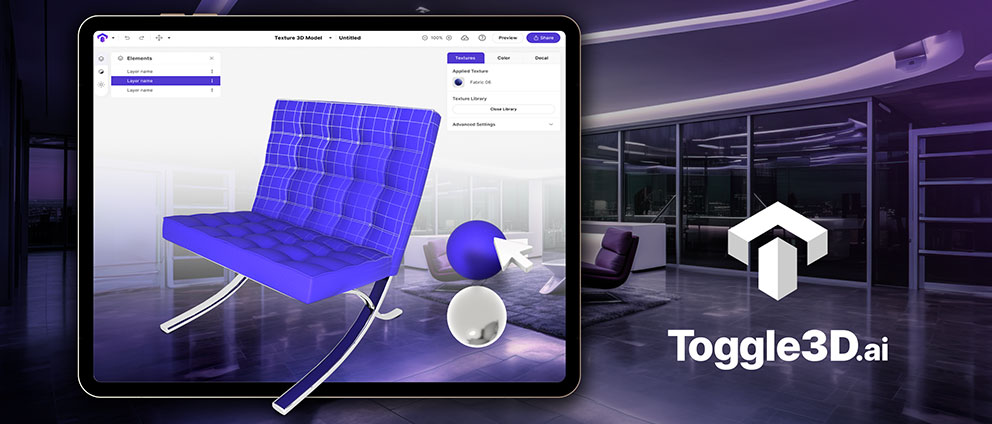
Toggle3D is the ultimate AI-powered 3D design and texturing studio. Whether you’re looking for a 3D texturing software to convert and texture CAD files, prototype design or generate AR designs, Toggle3D is a web-based intuitive tool anyone can use to turn CAD into web 3D and AR designs without prior design experience or skill!
Key Features and Benefits of Toggle3D
Make Prototypes Come to Life: Change colors, textures, and finishes in real-time as you design and engage with the model in 360 degrees before even manufacturing.
Enhanced Collaboration: Seamlessly communicate design changes in a remote environment by sharing this with anyone on the web
Save Time and Cost: Repurpose the same 3D model for design iterations, rendering product promotions, or presentations before ever building it, saving time and money.
How Does It Work: 3 Simple Steps
1. Import CAD or 3D file
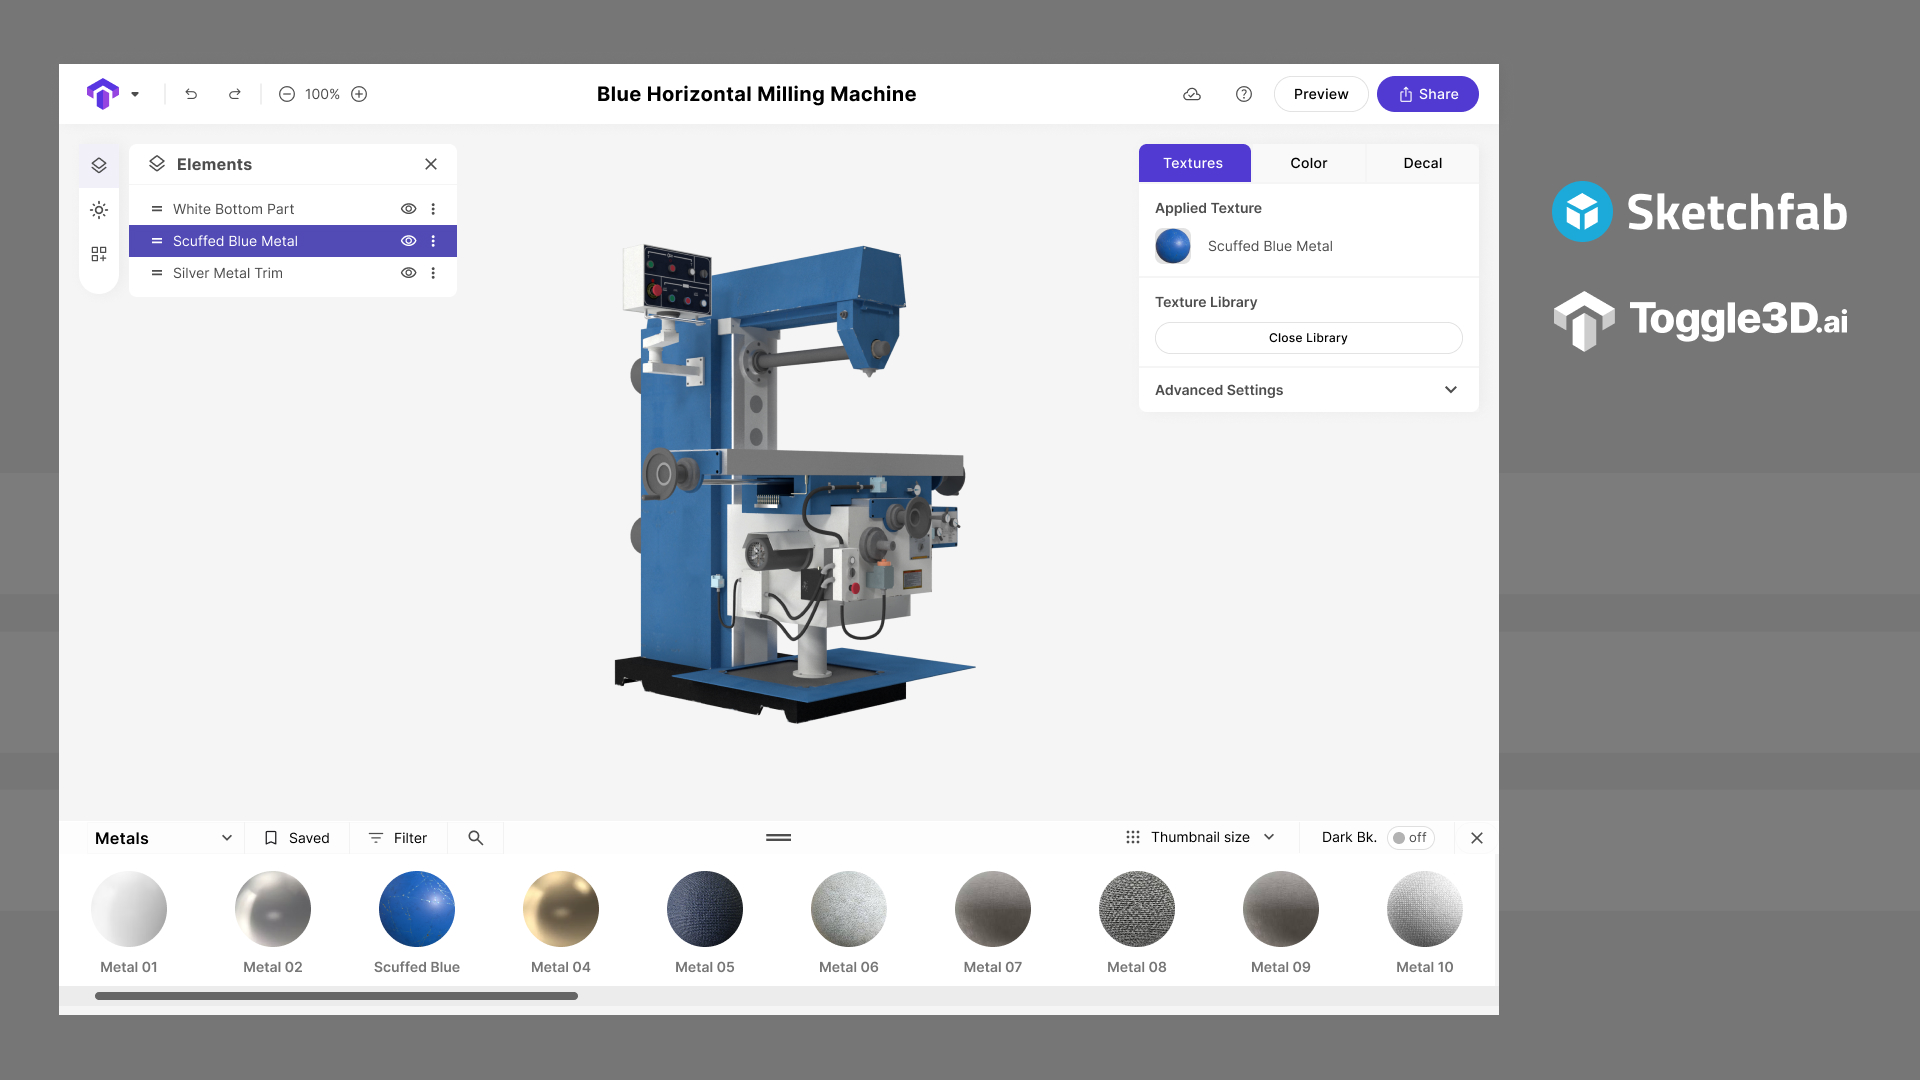
2. Add materials from our pre-built library or make your own
3. Share!
To learn more about Toggle3D - the ultimate design and texturing studio for 3D design, click here.

